
Refinishing your hardwood floors at home is a rewarding DIY project that can restore the natural beauty and warmth of your living space. Over time, hardwood floors can become scratched, dull, or worn from daily use, but refinishing them breathes new life into the wood, enhancing both its appearance and durability. This process involves several key steps, including preparing the room, sanding away old finishes, repairing any damage, and applying new stains or sealants to protect and enhance the surface’s appearance. With the right tools, techniques, and a bit of patience, even beginners can achieve professional-looking results and transform tired floors into stunning focal points of their homes.
Benefits of refinishing hardwood floors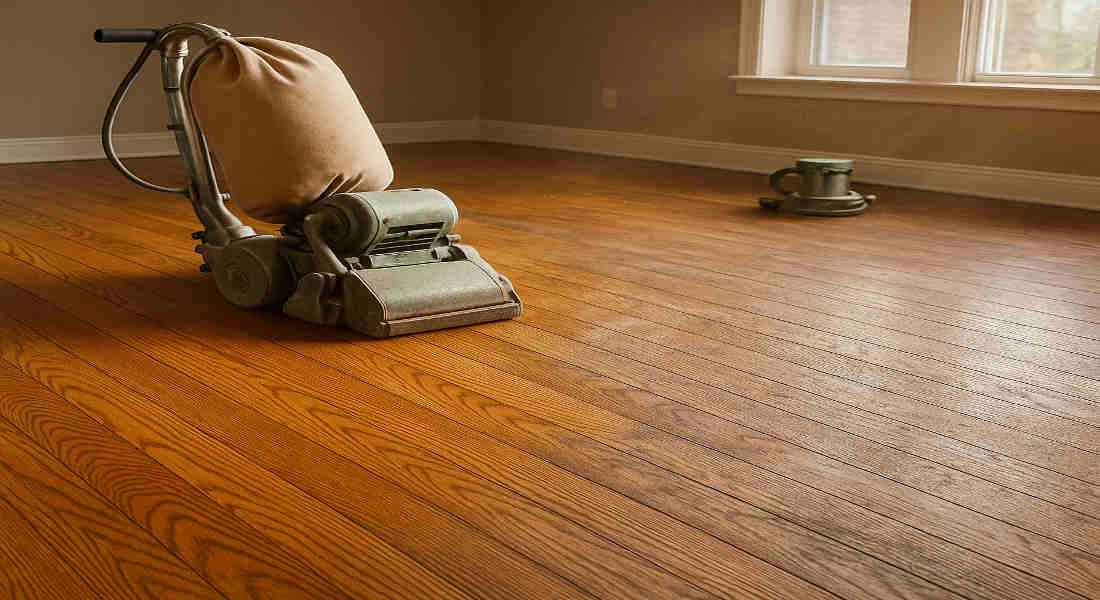
Refinishing hardwood floors can breathe new life into your living space. It enhances the natural beauty of the wood, bringing out rich colours and unique grain patterns that may have been hidden under years of wear.
By sanding down scratches and imperfections, you create a fresh surface that is more resistant to damage. This process can save you money in the long run by delaying costly replacements.
Potential buyers often favour homes with well-maintained hardwood floors, making them an attractive feature during a sale.
The process also allows for customization. You can choose from various stains or finishes to perfectly match your décor or personal style. With numerous options available, it’s easy to make a statement in any room.
Tools and materials needed for refinishing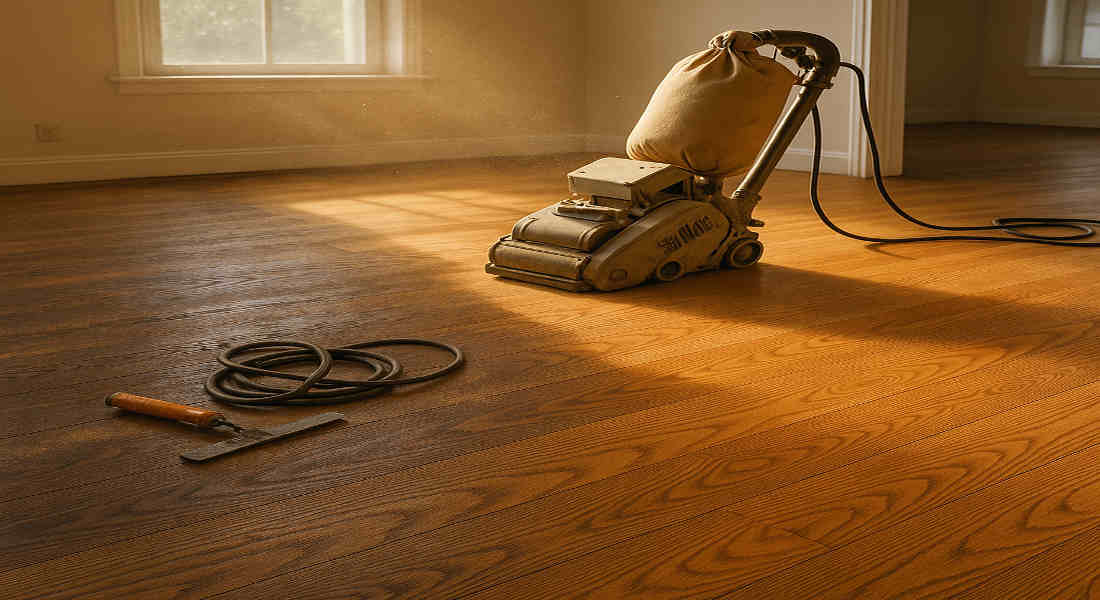
To start your hardwood floor refinishing project, you’ll need a few essential tools and materials. First on the list is a drum sander or an orbital sander. These machines are crucial for removing the old finish.
Don’t forget sandpaper in various grits, ranging from coarse to fine. This will help achieve that smooth surface you’re aiming for.
A vacuum cleaner and tack cloths are vital too. They ensure dust and debris don’t interfere with your new finish.
Next up are wood filler and putty knives for repairing any scratches or dents before sanding begins.
For applying the new stain or polyurethane, brushes and foam applicators come in handy. A paint tray makes this process easier.
Protective gear should not be overlooked—goggles, masks, and knee pads will keep you safe while working on your floors.
You may also read (the benefit of consistent flooring in your home design).
Step-by-step guide to refinishing your hardwood floors
Start by clearing the room. Remove all furniture and other items from your hardwood floors. A clean space makes the work easier.
Next, inspect your floors for damage. Fill in any cracks or holes with wood filler to create a smooth surface.
Now it’s time to sand. Use a drum sander for large areas and an edge sander for corners. Begin with coarse grit sandpaper, then gradually switch to finer grits until the floor feels even.
After sanding, vacuum thoroughly to remove dust particles from every corner.
Apply a wood stain if desired, making sure to choose one that complements your decor style. Use a brush or cloth for even application.
Once dry, finish with polyurethane sealer using a roller or pad applicator. Be cautious about applying thin coats; they will ensure durability without bubbles or streaks appearing on your beautiful new finish!
Tips for achieving a professional finish
To achieve a professional finish on your hardwood floors, start by ensuring the surface is impeccably clean. Dust and debris can ruin an otherwise flawless application.
Consider using high-quality finishes designed for hardwoods. These products not only enhance the wood’s natural beauty but also provide durability against wear and tear.
When applying the finish, use a foam applicator or lambswool pad for even distribution. This technique minimizes streaks and promotes a smooth appearance.
Pay attention to drying times between coats as specified by the manufacturer. Rushing this process can lead to imperfections that are hard to fix later.
Always work in a well-ventilated area. Good airflow helps with drying while reducing fumes from finishing products, making it safer for you during refinishing tasks.
You may also read (understanding fire risks in your home).
Alternative methods for refinishing hardwood floors
Refinishing hardwood floors can be achieved through various methods, each catering to different needs and preferences. If you’re looking for something less labour-intensive or if the condition of your floors doesn’t warrant a full refinishing, consider these alternatives.
One popular option is using a floor buffer with sanding screens. This method involves lightly scuffing the surface of the wood without removing too much material. It’s perfect for refreshing worn areas and preparing the floor for a new coat of finish.
They work well when you’re dealing with stubborn layers of old varnish or polyurethane but require careful handling due to their harsh chemicals.
For an eco-friendly approach, consider water-based finishes that are lower in volatile organic compounds (VOCs). Some products even claim to rejuvenate dull surfaces without extensive prep work.
For those who prefer minimal disruption, consider hiring professionals specializing in dustless refinishing systems. These advanced techniques contain sawdust and minimize mess while delivering impressive results.
Each method has its pros and cons, depending on your specific situation. Assess your goals before deciding on the best approach for refinishing your hardwood floors at home. Whether you opt for DIY or professional help, maintaining your hardwood floors will keep them looking beautiful for years to come.
You may also read (why do mice seek shelter in homes during summer).