
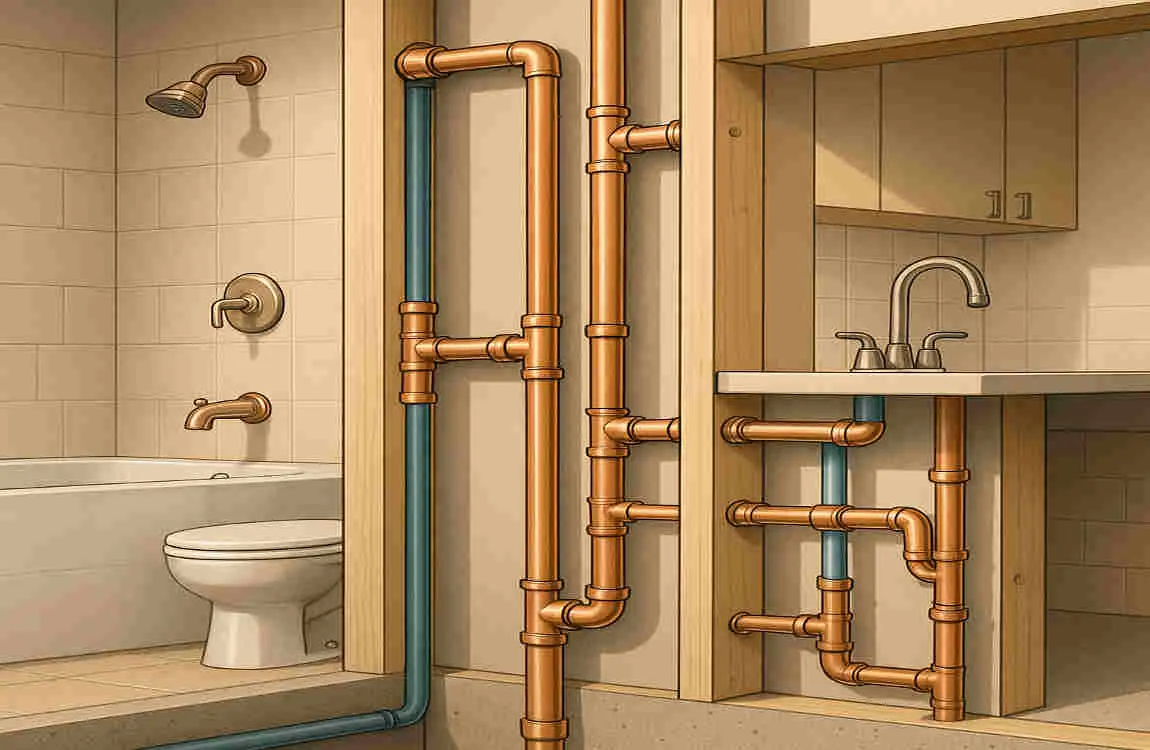
Copper pipes are a staple in residential plumbing due to their durability, corrosion resistance, and flexibility. Whether you’re a seasoned DIY enthusiast or a beginner tackling household projects, knowing how to cut house copper pipe is an invaluable skill.
By mastering the art of cutting copper pipes, you can perform repairs, install new fixtures, or even replace old plumbing without the need to call a professional. Not only does this save you money, but it also empowers you to take charge of your home’s plumbing system.
Understanding Copper Pipes in Residential Plumbing
Types and Sizes of Copper Pipes
Copper pipes come in various types and sizes, each serving specific plumbing needs. The most common types include:
- Type K: This type has the thickest walls and is used for underground water lines and in some commercial applications.
- Type L: Slightly thinner than Type K, Type L is widely used in residential plumbing for both hot and cold water supply lines.
- Type M: With the thinnest walls, Type M is typically used for lighter applications, such as heating systems or interior water supply lines.
Understanding the differences among these types helps you select the appropriate pipe for your specific needs.
Characteristics of Copper Pipes
Copper pipes are favored for several reasons:
- Durability: Copper is exceptionally robust, providing long-lasting performance in plumbing applications.
- Corrosion Resistance: Unlike some materials, copper pipes resist corrosion, ensuring clean water flow.
- Flexibility: Copper can be bent and shaped, making it ideal for various plumbing layouts.
Common Applications of Copper Pipes
Copper pipes are used in various applications within residential plumbing, including:
- Hot and cold water supply lines
- Drainage systems
- HVAC systems
- Refrigeration lines
Understanding these applications will help you appreciate the importance of cutting copper pipes correctly.
Essential Tools and Safety Gear for Cutting Copper Pipes
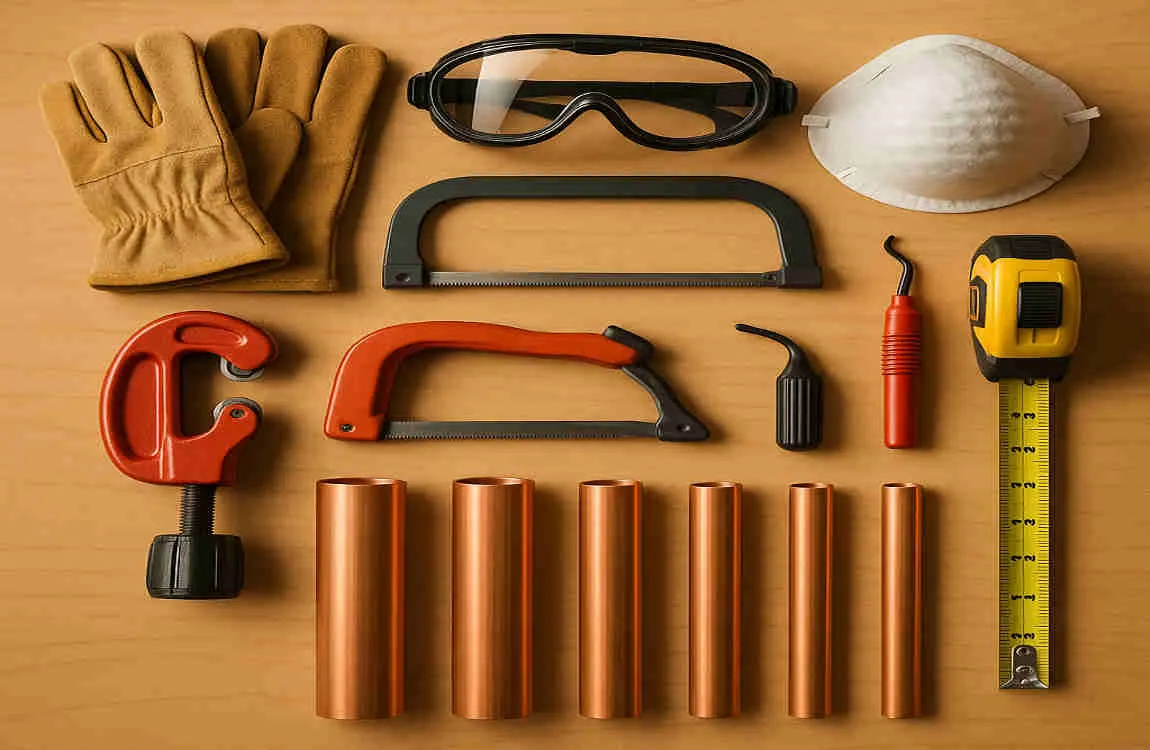
When it comes to cutting copper pipes, having the right tools and safety gear is crucial. Here’s a breakdown of what you’ll need:
You may also read (how to use net listings to maximize home value).
Tubing Cutter
A tubing cutter is the preferred tool for cutting copper pipes. Here’s why:
- Description: It consists of a circular blade that rotates around the pipe, making clean cuts.
- Uses: Ideal for making straight cuts without damaging the pipe.
- Advantages: Provides precise cuts, reducing the risk of burrs.
Hacksaw
A hacksaw can be used as an alternative cutting tool:
- When to Use: Suitable for thicker pipes or when a tubing cutter isn’t available.
- Pros: It’s versatile and can cut through various materials.
- Cons: Requires more effort and may lead to uneven cuts if not handled properly.
Multi-Function Tools and Saw Attachments
For thicker pipes or sheets, consider using:
- Angle Grinders: Effective for quick cuts, but require caution due to their power.
- Multi-function Tools: Versatile and can handle multiple tasks, including cutting.
Other Tools
- Pipe Deburring Tool: Smooths out the inner and outer edges after cutting.
- Sandpaper and File: Useful for cleaning and finishing the cut edges.
Safety Equipment
Always prioritize safety by using the following gear:
- Gloves: Protect your hands from sharp edges.
- Protective Eyewear: Shields your eyes from metal shavings.
- Ear Protection: Especially important when using power tools.
- Mask: Prevents inhalation of dust particles.
Safety is critical during any plumbing task. Always ensure you’re equipped with the proper gear to avoid accidents.
Step-by-Step Guide: How to Cut House Copper Pipe
Now that you’re familiar with the tools and safety gear, let’s dive into the step-by-step process of cutting copper pipes.
Preparing to Cut
Before you begin cutting, proper preparation is essential:
- Measuring the Pipe: Use a ruler or tape measure to determine the exact length you need. Measure twice for accuracy!
- Marking the Cut Line: Use a waterproof marker or pencil to clearly mark where you’ll cut the pipe. Ensure the line is straight and visible.
- Securing the Pipe: Use a vise or clamps to hold the pipe steady. This prevents movement during cutting, which can lead to mistakes.
You may also read (mastering downspout drainage a homeowners guide).
Cutting with a Tubing Cutter (Preferred Method)
Using a tubing cutter is the most effective and safest method:
- Position the Tubing Cutter: Place the cutter around the marked line on the pipe. Ensure it’s aligned properly for a straight cut.
- Tighten and Rotate: Gradually tighten the cutter’s knob and rotate it around the pipe. Apply even pressure as you turn the cutter, allowing the blade to do the work.
- Continue Until Cut Through: Keep tightening and rotating until the pipe breaks cleanly. This method ensures a straight and neat cut.
Alternative Cutting Methods
If a tubing cutter isn’t available, you can use:
- Hacksaw:
- Hold the saw at a straight angle.
- Use long, even strokes to cut through the pipe.
- Check your progress frequently to ensure a straight cut.
- Multi-Function Tool or Angle Grinder:
- Secure the pipe as mentioned earlier.
- Use the tool’s blade to cut through the pipe carefully.
- Always follow safety guidelines when handling power tools.
After the Cut: Deburring and Cleaning
Once you’ve made your cut, it’s essential to clean up the edges:
- What is Deburring? Deburring is the process of removing sharp edges or burrs left after cutting. This is crucial for ensuring a good seal when joining pipes.
- Tools and Techniques: Use a pipe deburring tool or a file to gently smooth the edges. Be thorough, but don’t apply excessive pressure.
- Cleaning the Cut Edges: Finish by using sandpaper or acetone to clean the area. This helps ensure a smooth, clean surface for soldering or connecting fittings.
Common Mistakes to Avoid When Cutting Copper Pipes
Even the best DIYers can make mistakes. Here are some common pitfalls to avoid:
- Cutting Uneven or Angled Cuts: Always ensure your cutting tool is aligned correctly to prevent angled cuts.
- Not Securing the Pipe Properly: Failing to secure the pipe can lead to movement and uneven cuts.
- Using the Wrong Tool for Pipe Thickness: Ensure you choose the right tool based on the pipe’s thickness.
- Skipping Deburring: Neglecting to deburr can lead to poor joint seals and leaks.
- Troubleshooting Tips: If you notice a mistake, stop and reassess. Adjust your technique as needed to fix minor errors.
Tips for Maintaining Copper Pipes After Cutting
Proper maintenance is key to ensuring the longevity of your copper pipes. Here are some tips:
- Adequate storage for Cut Pipes: If you’re not using the pipes immediately, store them in a dry place to prevent corrosion.
- Inspecting for Cracks or Damage: After cutting, check the pipe for any visible damage before installation.
- Preparing the Pipe for Soldering or Fitting Installation: Clean and dry the pipe thoroughly before making connections.
- Quick Maintenance Tips: Regularly check your plumbing for leaks and ensure fittings are secure.
When to Call a Professional
While cutting copper pipes can be a straightforward task, there are situations where it’s best to call in the experts:
- Complex Plumbing Layouts: If you’re dealing with intricate systems or multiple connections, professional help can ensure accuracy.
- High-Pressure Pipes: Cutting high-pressure pipes without expertise can be dangerous.
- Professional Inspection: If in doubt, consider having a professional inspect your work to ensure everything is functioning correctly.
You may also read (understanding the impact of polybutylene pipes on home sales).