
Rewiring a house is a significant yet essential undertaking for homeowners. While the thought of tearing into walls and replacing electrical systems may seem daunting, ensuring your home’s wiring is up-to-date is crucial for safety, functionality, and modern living. One of the most common questions homeowners ask is, “How long to rewire a house?”
Electrical systems are the lifeblood of any modern home. From powering your appliances to keeping your lights on, the wiring behind your walls works tirelessly. However, like any system, wiring can age, deteriorate, or fail to meet the demands of modern technology.
Understanding House Rewiring
Before diving into the timeline, it’s essential to understand what rewiring a home entails. This process involves much more than simply replacing wires—it’s a comprehensive overhaul of your home’s electrical infrastructure.
What Does Rewiring a House Involve?
Rewiring a home typically includes:
- Replacing old wiring and consumer units: Outdated systems, such as knob-and-tube or aluminum wiring, are replaced with modern, safer alternatives.
- Installing new cables, back boxes, switches, and sockets ensures seamless power distribution throughout the house.
- Adding wiring for modern technology: This includes provisions for CCTV systems, smart home devices, and other advanced technology.
The Two Main Stages: First Fix and Second Fix
Rewiring is generally divided into two key stages:
- First Fix: This involves installing wiring and cables behind walls, floors, and ceilings before plastering or decorating. It’s a messy but foundational step.
- Second Fix: This stage focuses on connecting fixtures, such as light switches, sockets, and consumer units, and testing the system to ensure safety and functionality.
Signs Your Home Needs Rewiring
Are you unsure if your home needs rewiring? Pay attention to these warning signs, as they indicate potential electrical issues:
Common Indicators
- Frequent breaker trips: Circuit breakers tripping repeatedly signal overloaded or faulty wiring.
- Flickering or dimming lights: Lights behaving erratically may indicate loose or old wiring.
- Scorched or warm outlets: Outlets that feel hot or display burn marks pose a significant safety concern.
You may also read (the benefit of consistent flooring in your home design).
- Burning smells near sockets: A burning odor is a warning sign of overheated wires or damaged insulation.
- Outdated wiring systems: Homes with knob-and-tube or aluminum wiring are more prone to fire hazards and inefficiency.
Why Timely Rewiring is Important
Ignoring these signs can lead to electrical fires, power outages, and even damage to your appliances. Rewiring ensures safety, prevents costly repairs, and prepares your home for future electrical needs.
How Long Does It Take to Rewire a House?
Now, to the big question: how long does it take to rewire a house? The timeline depends on several factors, which we’ll explore below.
Factors Affecting the Duration
- Size and age of the house: Larger homes take more time, as do older homes with outdated wiring systems.
- The extent of rewiring: A full rewire will naturally take longer than a partial one.
- Accessibility: Homes with hard-to-reach wiring routes (e.g., behind plaster walls or under tight spaces) require more time.
- Number of circuits and rooms: The more circuits and outlets to be installed, the longer the process.
- Upgrades: Adding new fixtures, circuits, or smart technology can extend the timeline.
Typical Timelines
Here’s an approximate breakdown of how long rewiring takes based on the size and complexity of the home:
Home SizeRewiring Timeline
Small dwellings (1-2 bedrooms) 3-5 days
Medium dwellings (3-4 bedrooms) 1-2 weeks
Large/complex homes 2+ weeks
Understanding the Stages
- First Fix: Typically takes the longest, as it involves cutting into walls and laying cables.
- Second Fix: Quicker, but requires precision to install and connect fixtures.
- Testing: It usually takes 1-2 days to ensure everything is safe and functional.
Step-by-Step House Rewiring Process
Assessment and Planning
The first step involves a thorough electrical inspection by a licensed electrician. They’ll evaluate the existing system, identify problem areas, and plan the wiring layout. This stage also includes obtaining necessary permits and approvals to comply with local codes.
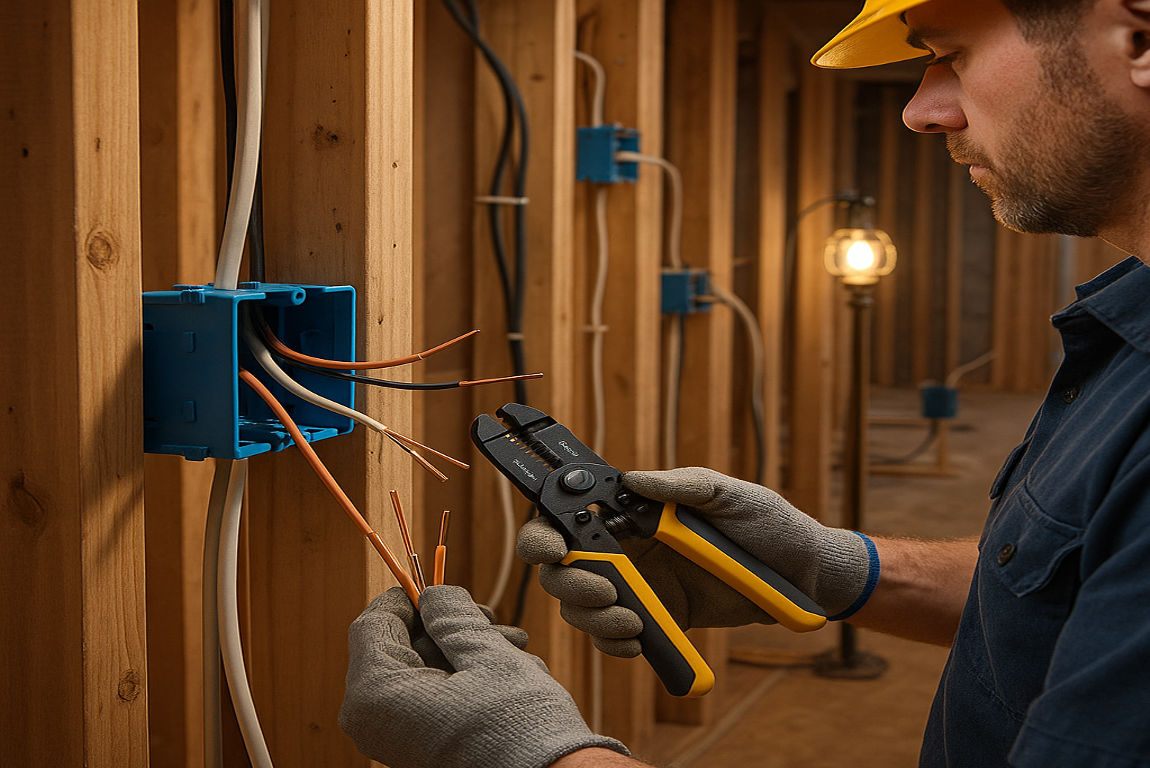
Material Selection
Next, you’ll work with your electrician to choose materials, including:
- Wiring type: Copper is the standard choice due to its durability and conductivity.
- Outlets and switches: Ensure they align with your home’s needs and aesthetic.
- Consumer units: Modern units with built-in safety features are a must.
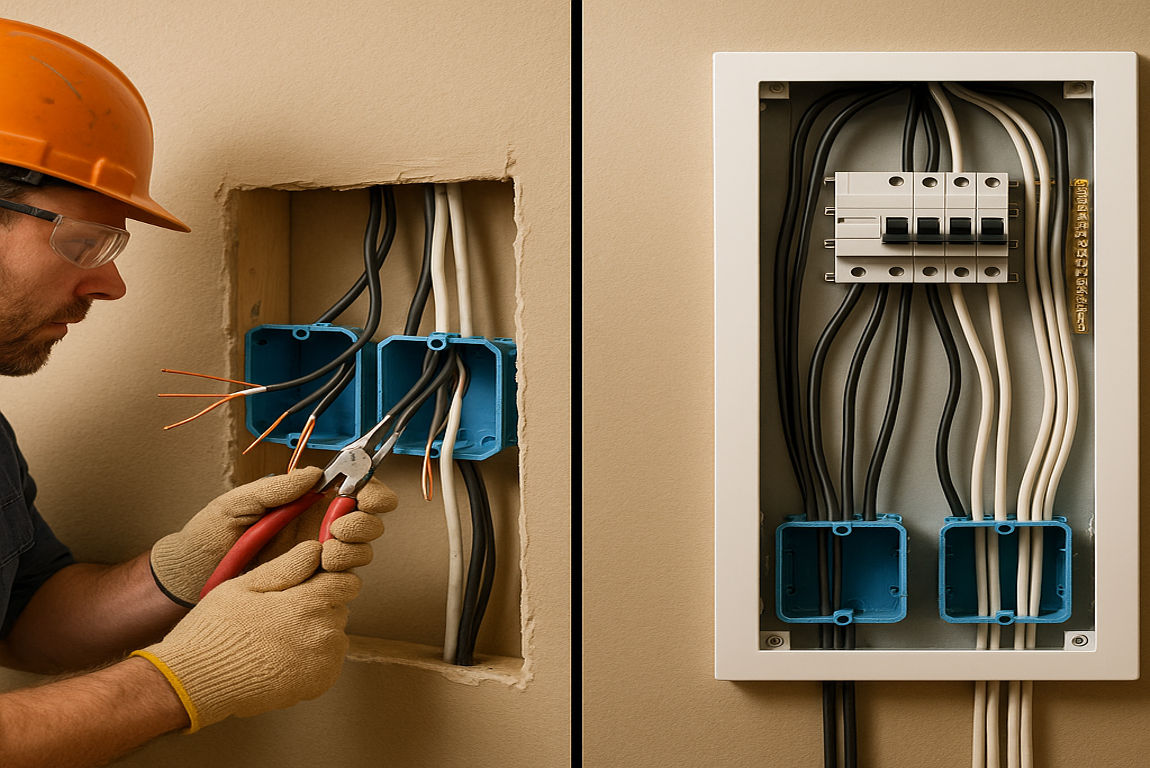
Disconnecting and Removing Old Wiring
Before installing new wiring, the old system must be safely removed and disposed of. This involves:
- Shutting off the power to the house.
- Carefully extracting wiring and components to avoid damage.
- Properly disposing of outdated materials.
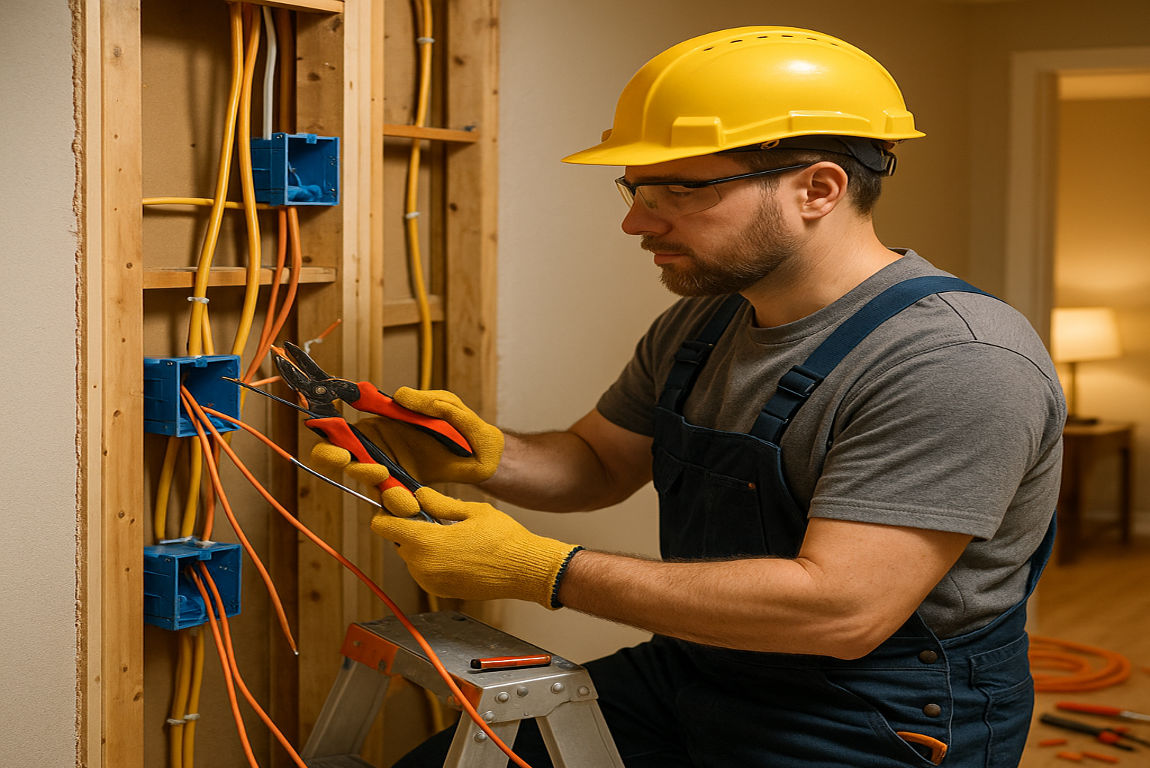
First Fix: Installing New Wiring
This stage is the most labor-intensive. It includes:
- Cutting chases into walls and routing cables.
- Installing back boxes for outlets and switches.
- Laying wiring for power, lighting, and modern technology.
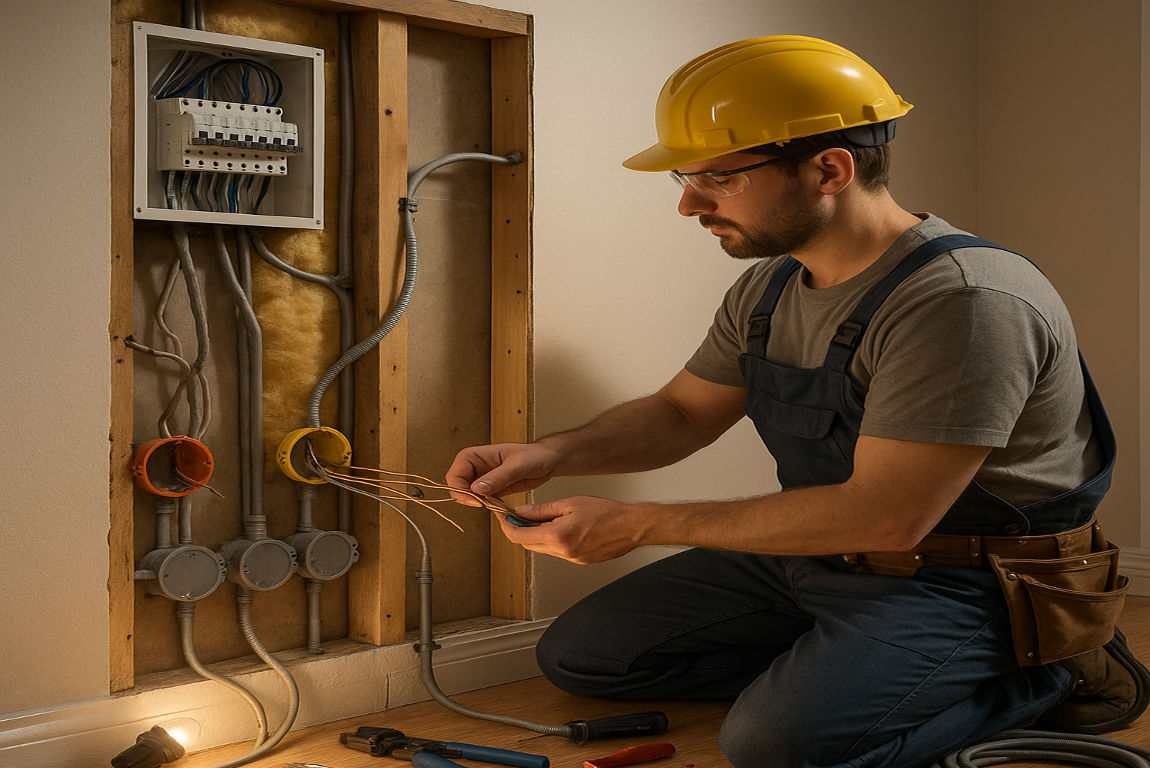
Second Fix: Installing Fixtures and Final Connections
Once the wiring is in place, electricians will:
- Fit switches, sockets, and light fixtures.
- Connect wiring to the consumer unit and circuit breakers.
Testing and Inspection
The final step involves rigorous testing to ensure safety and functionality. Electricians will:
- Test circuits for proper operation.
- Label circuits for easy identification.
- Issue an electrical safety certificate for compliance.
Safety Considerations and Compliance
Rewiring isn’t a DIY project—it’s a job for licensed professionals. Here’s why safety and compliance are critical:
- Local electrical codes: Electricians ensure your rewiring meets legal standards.
- Fire prevention: Properly installed wiring reduces the risk of electrical fires.
- Electrical shocks: Safety measures protect both workers and residents from hazards.
Managing Disruptions During Rewiring
Rewiring is disruptive, but you can prepare to minimize inconvenience.
What to Expect
- Noise and dust: Cutting into walls and floors creates a mess.
- Power outages: Temporary power loss is common during rewiring.
- Limited access: Certain rooms may be off-limits during the process.
You may also read (is woodworm damage insured under home policies).
Tips to Minimize Disruptions
- Plan ahead: Schedule rewiring during vacations or quieter periods to minimize disruptions.
- Set up a temporary workspace: If you work from home, designate a disruption-free zone.
- Communicate with your electrician: Clear communication ensures smoother progress.
Costs Associated with Rewiring a House
The cost of rewiring depends on several factors, including:
- Materials: High-quality wiring and fixtures increase costs but offer better durability.
- Labor: Skilled electricians charge more but ensure safety and compliance.
- Size and complexity: Larger, older homes or those requiring upgrades cost more.
Additional Costs
- Upgrading the electrical panel.
- Installing smart home wiring or additional circuits.
Benefits of Rewiring Your Home
Rewiring your home offers numerous advantages, including:
- Improved safety: Reduces fire risks and electrical hazards.
- Increased home value: Modern wiring is a key appeal to buyers.
- Support for modern technology: Handle appliances, gadgets, and smart systems with ease.
- Energy efficiency: Modern wiring reduces energy waste.
You may also read (heating methods for your home).